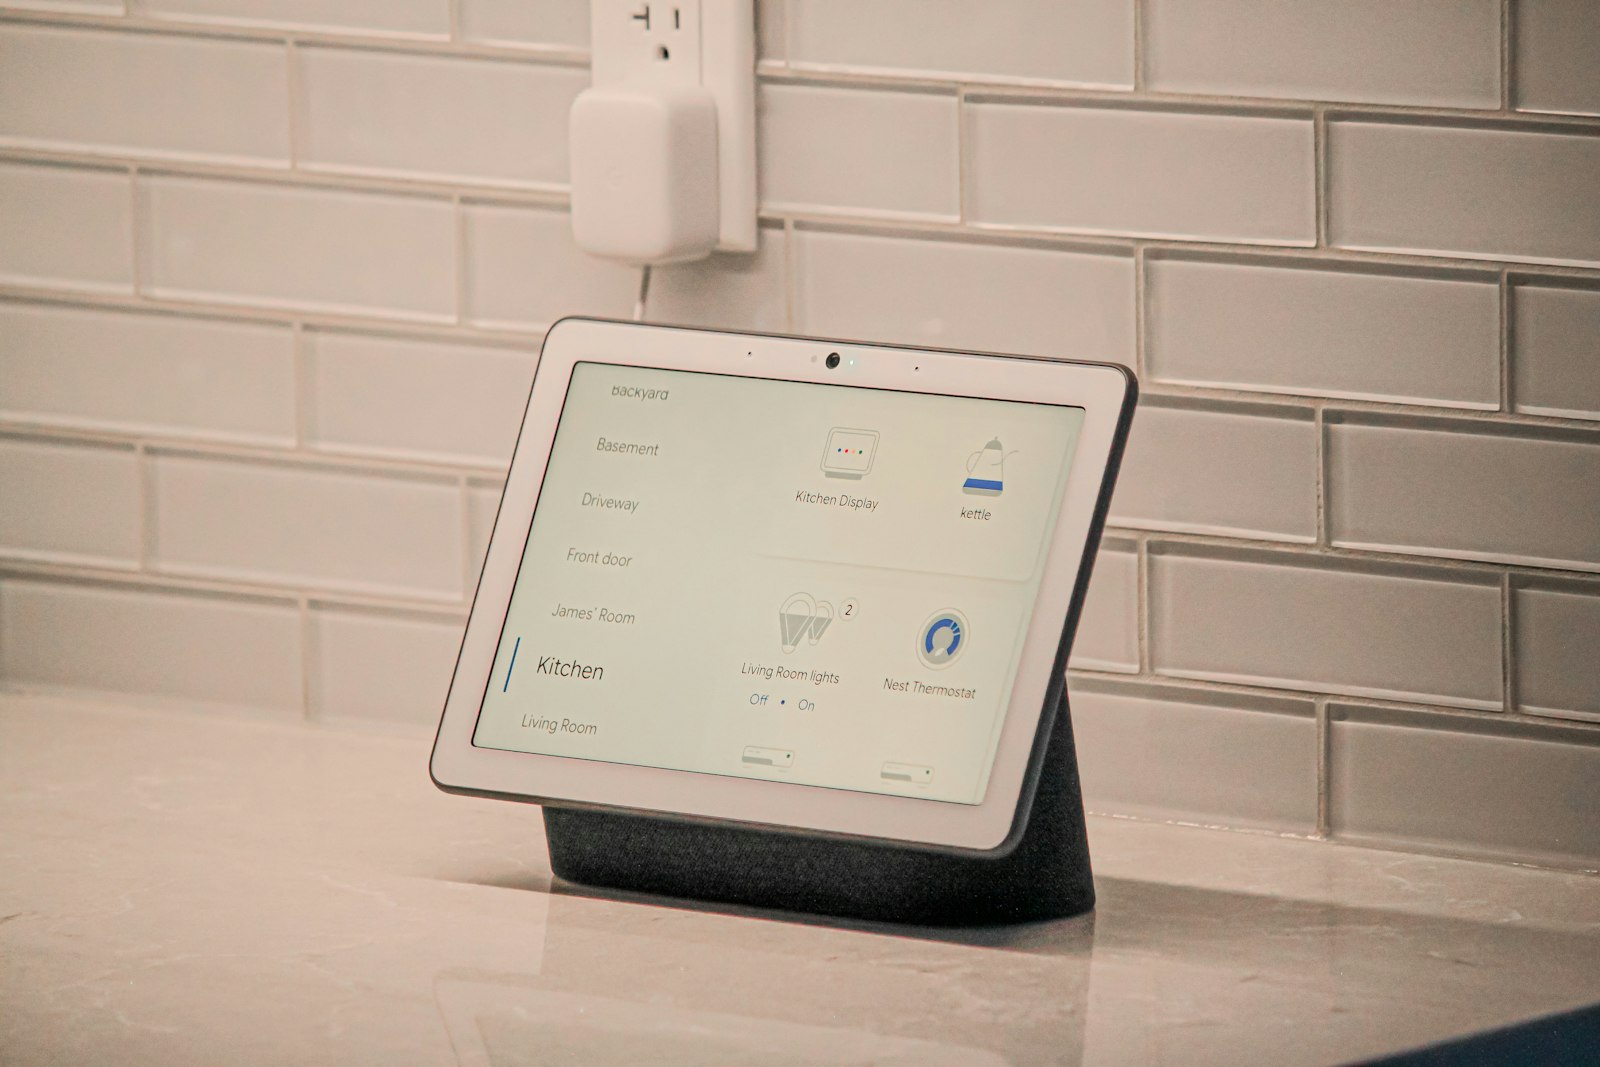
A smart home hub is a small computer that lets your lights, plugs, sensors and thermostat talk to each other. With free, open-source software called Home Assistant and a Raspberry Pi, you can build one yourself in an afternoon. Your devices stay under your control, and you can set up automations that cut wasted energy.
Quick answer: To build a DIY smart home hub, flash the Home Assistant operating system onto a 32 GB or larger microSD card, put it in a Raspberry Pi 4 or 5, plug the Pi into your router and power, then open homeassistant.local:8123 in a browser to finish setup and add your devices.
Why a DIY smart home hub can save energy
The biggest energy win from a smart home is not the gadgets themselves. It is the automations that switch things off when nobody needs them. Heating and cooling are a large part of most energy bills, and the Maryland Energy Administration notes that you can save as much as 10% a year on heating and cooling by turning your thermostat back 7–10°F for 8 hours a day from its normal setting (Maryland Energy Administration). A hub can do that for you every night and every workday, automatically.
Home Assistant runs on your own hardware, and much of it can work locally on your home network instead of relying on a company’s cloud. That means your automations keep running even if a brand shuts down its app, and your data stays in your home.
What you need
- A Raspberry Pi 5 or Raspberry Pi 4 with at least 2 GB of RAM.
- The official power supply for your Pi model (some phone chargers can’t deliver enough power).
- A microSD card of at least 32 GB, ideally one marked A2 for faster performance.
- An Ethernet cable to connect the Pi to your router.
- A computer with a microSD card reader to set up the card.
- Optional: a Zigbee or Z-Wave USB stick if your devices use those wireless standards.
How to build your smart home hub
- Download Raspberry Pi Imager. Install this free tool from the Raspberry Pi website on your computer.
- Flash Home Assistant onto the card. In Imager, choose your Pi model, then pick the Home Assistant operating system from the list of other specific-purpose systems, select your microSD card and write it.
- Connect the Pi. Insert the card into the Pi, connect it to your router with the Ethernet cable and plug in the power supply.
- Open the setup page. On a computer on the same network, go to homeassistant.local:8123 in a web browser. According to the Home Assistant install guide, on a Pi 4 or 5 the page usually appears within a minute or so. If you can’t reach it, try the Pi’s IP address from your router’s device list.
- Create your account. Follow the on-screen onboarding to set your name, password, location and units.
- Add your devices. Home Assistant often finds smart plugs, bulbs and speakers on your network automatically. Open Settings, then Devices and services, to add the ones it found or search for your brand.
- Build your first energy-saving automation. For example: turn the thermostat down at bedtime and back up before you wake, or switch off lights and a TV plug when everyone leaves home.
- Back up your setup. Turn on automatic backups and save a copy somewhere other than the microSD card.
Tips for a smoother project
- Start small. Add two or three devices and one automation first. Get those working before adding more.
- Choose local-friendly devices. Products that support standards like Zigbee, Z-Wave or Matter often work without an internet connection.
- Use the energy dashboard. If you add smart plugs that measure power, Home Assistant can show which devices use the most electricity.
- Expect some trial and error. If something won’t connect, restart the device and check the Home Assistant community forums. Most problems have been solved before.
Frequently asked questions
Is Home Assistant free?
Yes. Home Assistant is free, open-source software. An optional paid subscription adds easy remote access and voice assistant features, but you don’t need it to run your hub at home.
Do I need to know how to code?
No. Most setup happens in a web dashboard with menus and buttons. Some advanced features use simple text settings, but you can build useful automations without writing code.
Can I use an old laptop instead of a Raspberry Pi?
Yes. Home Assistant can also run on many PCs and mini computers. A low-power device that can stay on all the time is a good choice, since the hub runs 24 hours a day.
Will a smart home hub lower my energy bill?
It can, if you use it to automate things like thermostat setbacks and turning off unused lights and devices. The hub itself uses a small amount of power, so the savings come from the automations you set up.
Try it with our free calculator
Curious where your home’s electricity goes? Use our free Home Energy Simulator to estimate your household’s energy use and see how automations like thermostat setbacks could change your yearly total.
Related guides
- How to Set Up an Offline Smart Thermostat You Actually Own
- How to Use a Free Weather App to Time Your Energy Use
- How to Set a Programmable Timer for Holiday Lights
Sources
- Maryland Energy Administration, Smart Thermostats
- Home Assistant, Raspberry Pi installation guide
Written and reviewed by the Accessible Sustainability Alliance editorial team. Last updated October 5, 2026.