
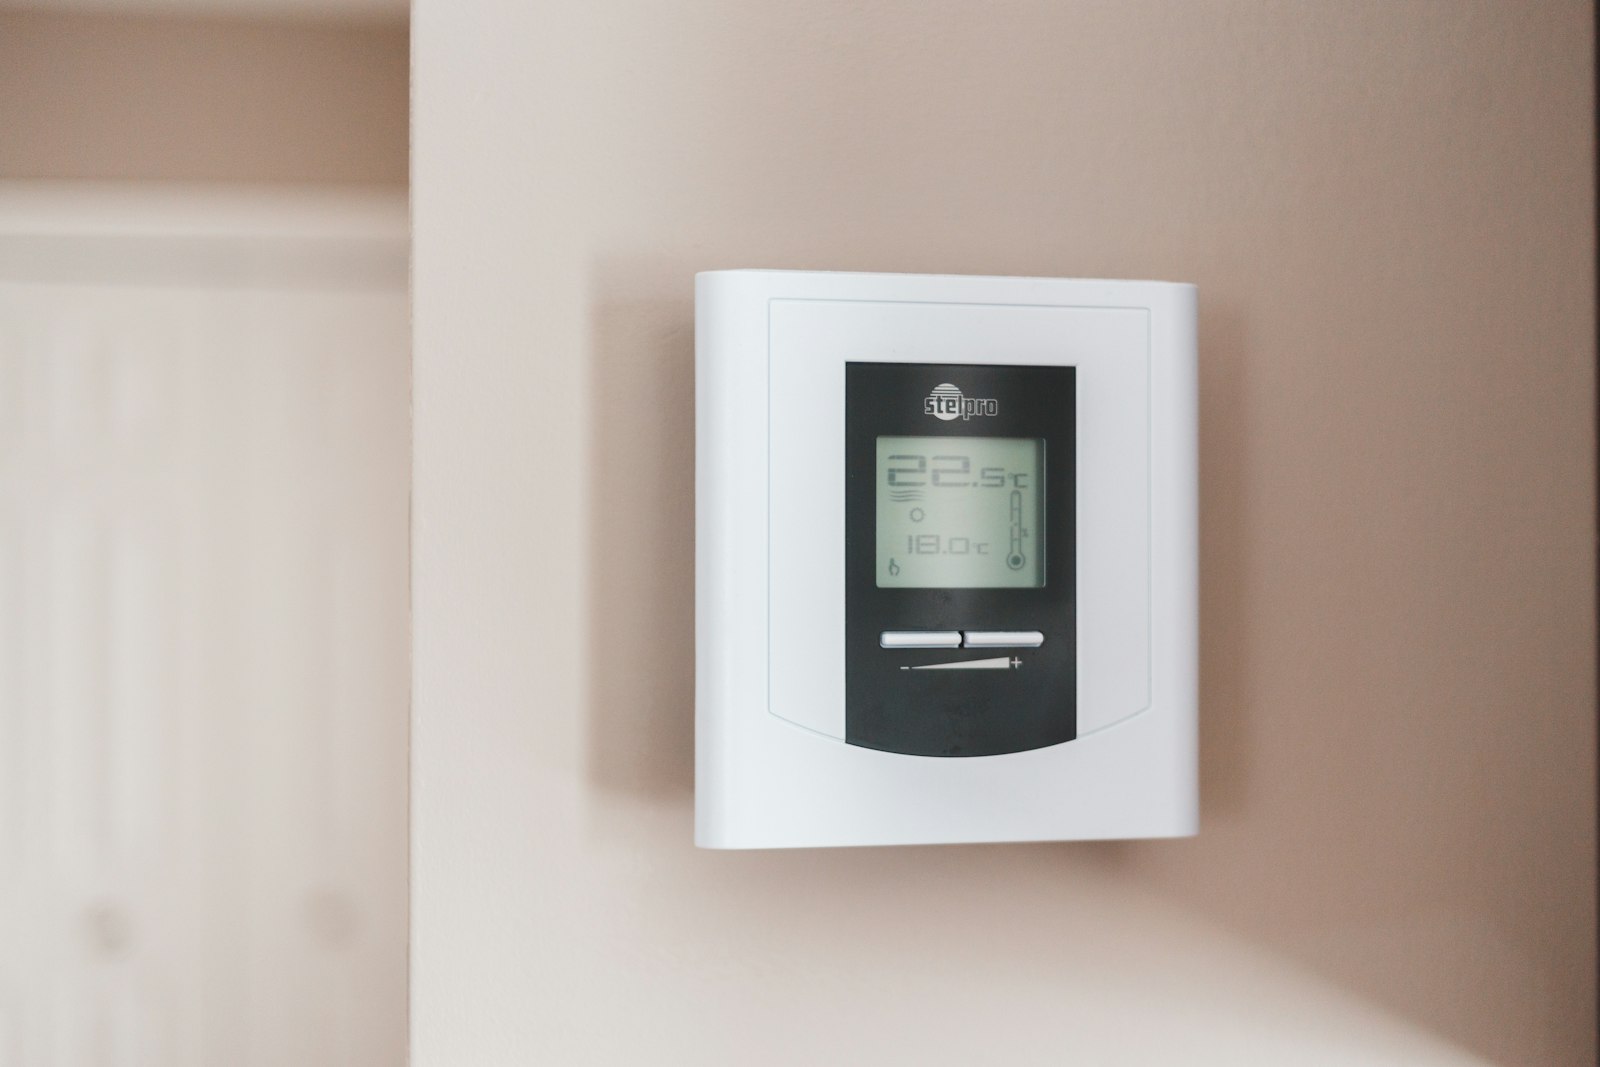
Most smart thermostats depend on the maker’s cloud servers. If the company shuts down a service or stops supporting your model, features you paid for can stop working. An offline smart thermostat runs its schedule on a small computer in your own home, so it keeps working even when the internet is down.
Quick answer: Pick a thermostat that supports a local standard like Z-Wave, Zigbee or Matter, install Home Assistant on a Raspberry Pi in your home, pair the thermostat to it, and build your heating and cooling schedule there. Everything runs on your own network with no cloud account needed.
Why a thermostat you control matters
A thermostat has a simple job: read the temperature and turn heating or cooling on and off. Running that job locally means no subscription, no forced shutdowns, and less data about your daily routine leaving your home.
It also saves energy, because you can build a good schedule and keep it for years. The U.S. Department of Energy says you can save as much as 10% per year on heating and cooling by turning your thermostat down 7 to 10 degrees F for 8 hours a day in fall and winter, and turning it up in spring and summer (DOE Energy Saver Guide). In Southern California, you can also set cooling to ease off during the 4 to 9 p.m. peak hours that many time-of-use electric plans charge more for.
What you need
- A Raspberry Pi 5 or Raspberry Pi 4 with at least 2 GB of RAM, plus its official power supply
- A microSD card of at least 32 GB (an “A2” card is faster)
- A thermostat that supports Z-Wave, Zigbee or Matter and can be controlled locally
- A USB Z-Wave or Zigbee adapter if your thermostat uses one of those radios
- A computer to set up the SD card, and a phone or laptop on your home Wi-Fi
How to set up an offline smart thermostat
- Check your heating system. Turn off power at the breaker, take the old thermostat cover off, and photograph the wires and their labels. Note if you have a “C” (common) wire, since many smart thermostats need one. If your thermostat is line voltage (thick wires, often for electric baseboard heat), stop and call an electrician.
- Choose a local-control thermostat. Look for Z-Wave, Zigbee or Matter support in the specs, and make sure it can still be used with its own buttons if your hub is off. Avoid models that require a cloud account to work.
- Install Home Assistant. Download Raspberry Pi Imager on your computer, choose Home Assistant OS for your Pi model, and write it to the microSD card. Home Assistant’s guide lists Balena Etcher as a backup tool (Home Assistant).
- Start the Pi. Put the card in the Pi, plug in an Ethernet cable and power, and wait a few minutes. Plug in your USB Z-Wave or Zigbee adapter if you have one.
- Open Home Assistant. On a computer on the same network, go to homeassistant.local:8123 in your web browser and create a local user account.
- Install and pair the thermostat. With the breaker still off, connect the wires to the new thermostat following its manual and your photo. Turn power back on, then add the device in Home Assistant under Settings, then Devices and services.
- Build your schedule. Create automations that lower the heat at night and when nobody is home, and raise the cooling setpoint during peak-price hours. Start simple and adjust after a week.
- Test it offline. Unplug your internet connection (leave Wi-Fi on) and confirm you can still change the temperature from Home Assistant.
Tips
- Turn on Home Assistant’s automatic backups and copy them to another device now and then.
- If you want to control it away from home, use a secure option like a VPN rather than opening ports on your router.
- If you are not comfortable with wiring, ask a licensed HVAC technician to install the thermostat. You can still set up Home Assistant yourself.
Frequently asked questions
Can a smart thermostat work without internet?
Yes, if it supports local control. Thermostats that use Z-Wave, Zigbee or Matter can talk directly to a hub like Home Assistant on your home network. Cloud-only models may lose their smart features when the internet or the company’s servers are down.
Is Home Assistant free?
Home Assistant is free, open-source software. You pay only for the hardware, such as the Raspberry Pi and SD card. There is an optional paid cloud service for remote access, but you do not need it.
Do I need a C wire for a smart thermostat?
Many smart thermostats need a C wire for steady power. Some come with an adapter or run on batteries. Check the product’s wiring guide before you buy.
See your home energy use
Curious how much heating and cooling cost your household? Try our free Home Energy Simulator to test thermostat settings and see which changes cut the most energy.
Related guides
- How to Install a $25 Programmable Thermostat (and Skip the $250 Smart One)
- How to Build a DIY Smart Home Hub with Open-Source Software
- How to Use a Free Weather App to Time Your Energy Use
Sources
- U.S. Department of Energy, Energy Saver Guide: Tips on Saving Money and Energy at Home
- Home Assistant, Raspberry Pi installation guide
Written and reviewed by the Accessible Sustainability Alliance editorial team. Last updated October 5, 2026.