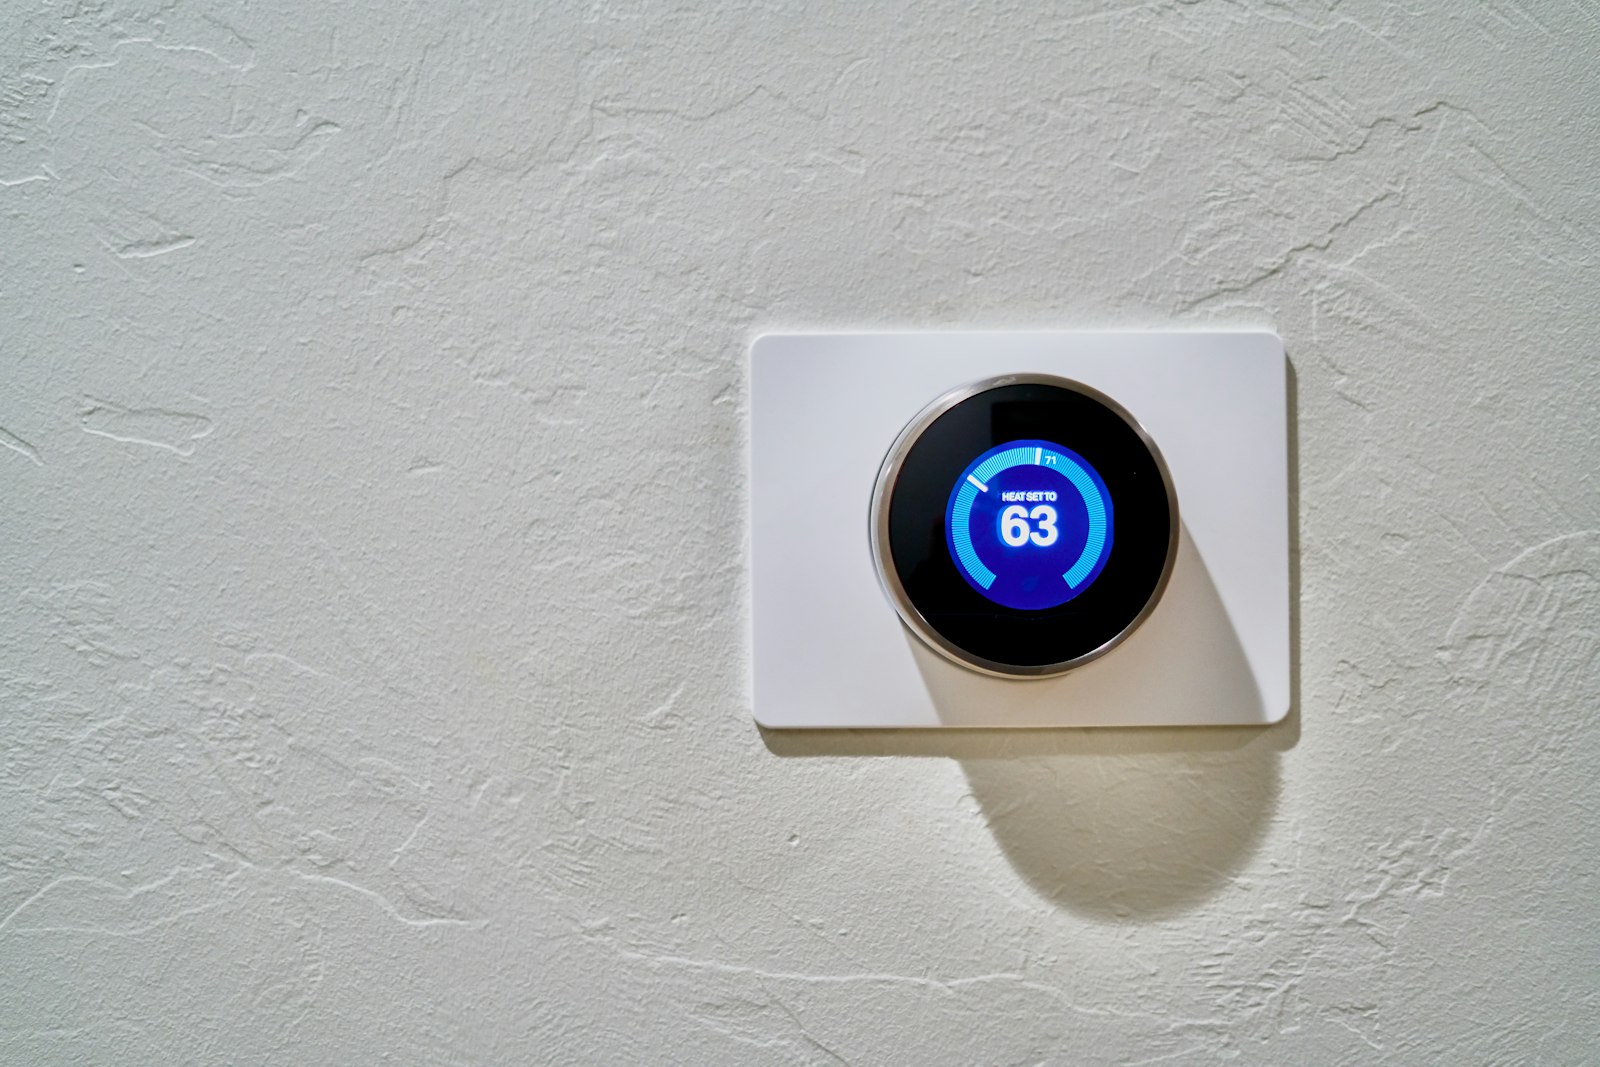
A basic programmable thermostat can do the main job of a pricey smart thermostat: turn the heat or air conditioning down when nobody needs it. Most people can swap one in about 30 minutes with a screwdriver, as long as the home has a standard low-voltage heating and cooling system.
Quick answer: Turn off power to your heating and cooling system at the breaker, photograph and label the old thermostat’s wires, move each wire to the matching letter on the new base, snap on the new thermostat, restore power and set a schedule that lowers the temperature when you are asleep or away.
Why a programmable thermostat saves money
Heating and cooling are usually the biggest energy users in a home. The U.S. Department of Energy says you can save as much as 10% a year on heating and cooling by turning your thermostat back 7 to 10 degrees F for 8 hours a day from its normal setting (DOE). A programmable thermostat does that for you every day, so you don’t have to remember.
Smart thermostats add learning features and phone control, but a basic programmable model handles a schedule well.
What you need
- A programmable thermostat that lists your system type (gas furnace, central AC, heat pump) on the box
- A small Phillips screwdriver and a flathead screwdriver
- Your phone, for a photo of the old wiring
- Masking tape and a pen for labels
- A flashlight
- Optional: a small level
Check first: if your thermostat is connected to thick wires and controls electric baseboard heaters, it is a high-voltage (line-voltage) model. Do not use a standard programmable thermostat for that. Buy a line-voltage model or call an electrician.
How to install a programmable thermostat
- Turn off power to the furnace or air handler at your breaker panel. Many furnaces also have a switch on or near the unit. Wait until the old thermostat screen goes dark or the system stops responding.
- Remove the old thermostat’s cover and unscrew the body from its wall plate. Take a clear photo of the wires and the letters they connect to, such as R, W, Y, G and C.
- Wrap a small piece of tape around each wire and write its letter on it. Then loosen the screws and free the wires. Tuck a pencil around the bundle so the wires can’t fall back into the wall.
- Unscrew the old wall plate. Thread the wires through the new base, hold it level against the wall, mark the holes and screw it in place.
- Connect each labeled wire to the terminal with the same letter. If you have a C (common) wire, connect it too, because it gives the thermostat steady power. Gently push extra wire back into the wall.
- Add batteries if your model uses them, and snap the thermostat onto the base until it clicks.
- Turn the power back on. Test heat, cool and fan one at a time. If something doesn’t run, turn off power again and double-check each wire against your photo.
- Set your schedule. Lower the heat (or raise the AC setting) for periods when everyone is asleep or out of the house, and have it return to normal a little before you wake up or get home.
Common mistakes to avoid
- Skipping the photo. It is the easiest way to recover if a wire comes loose or the letters don’t match.
- Guessing on heat pumps. Heat pumps often use an O or B wire and need a thermostat that supports them. Check the box and your thermostat’s settings menu.
- Huge setbacks with a heat pump. DOE notes that programmable thermostats have generally not been recommended for heat pumps, because big temperature swings can trigger costly backup heat. Use small setbacks or a heat pump-specific model.
- Bad placement. A thermostat in direct sun, near a lamp or next to a drafty door will read the wrong temperature.
Frequently asked questions
Do I need a C wire for a programmable thermostat?
Not always. Many basic programmable thermostats run on batteries and do not need a C wire. Most smart thermostats with Wi-Fi do need one for steady power, which is another reason a simple model can be easier to install.
How much does a programmable thermostat save?
DOE says turning the thermostat back 7 to 10 degrees F for 8 hours a day can save as much as 10% a year on heating and cooling. Your savings depend on your climate, your system and how big your setbacks are.
What temperature should I set my thermostat to?
A common approach is to keep the home comfortable when people are active, then set it a few degrees cooler in winter or warmer in summer while you sleep or are away. In California, pre-cooling before the 4 to 9 p.m. peak and letting the home drift warmer during it can also lower time-of-use bills.
See your home’s energy picture
Want to know how much heating and cooling add to your bills? Try our free Home Energy Simulator to compare thermostat settings and other changes and see which ones save your household the most.
Related guides
- How to Set Up an Offline Smart Thermostat You Actually Own
- How to Reverse Your Ceiling Fan Direction for Winter Savings
- How to Make a DIY Door Draft Snake in 10 Minutes
Sources
- U.S. Department of Energy, Home Upgrades (programmable thermostat savings and heat pump note)
Written and reviewed by the Accessible Sustainability Alliance editorial team. Last updated October 5, 2026.